Week 2: Build Journal

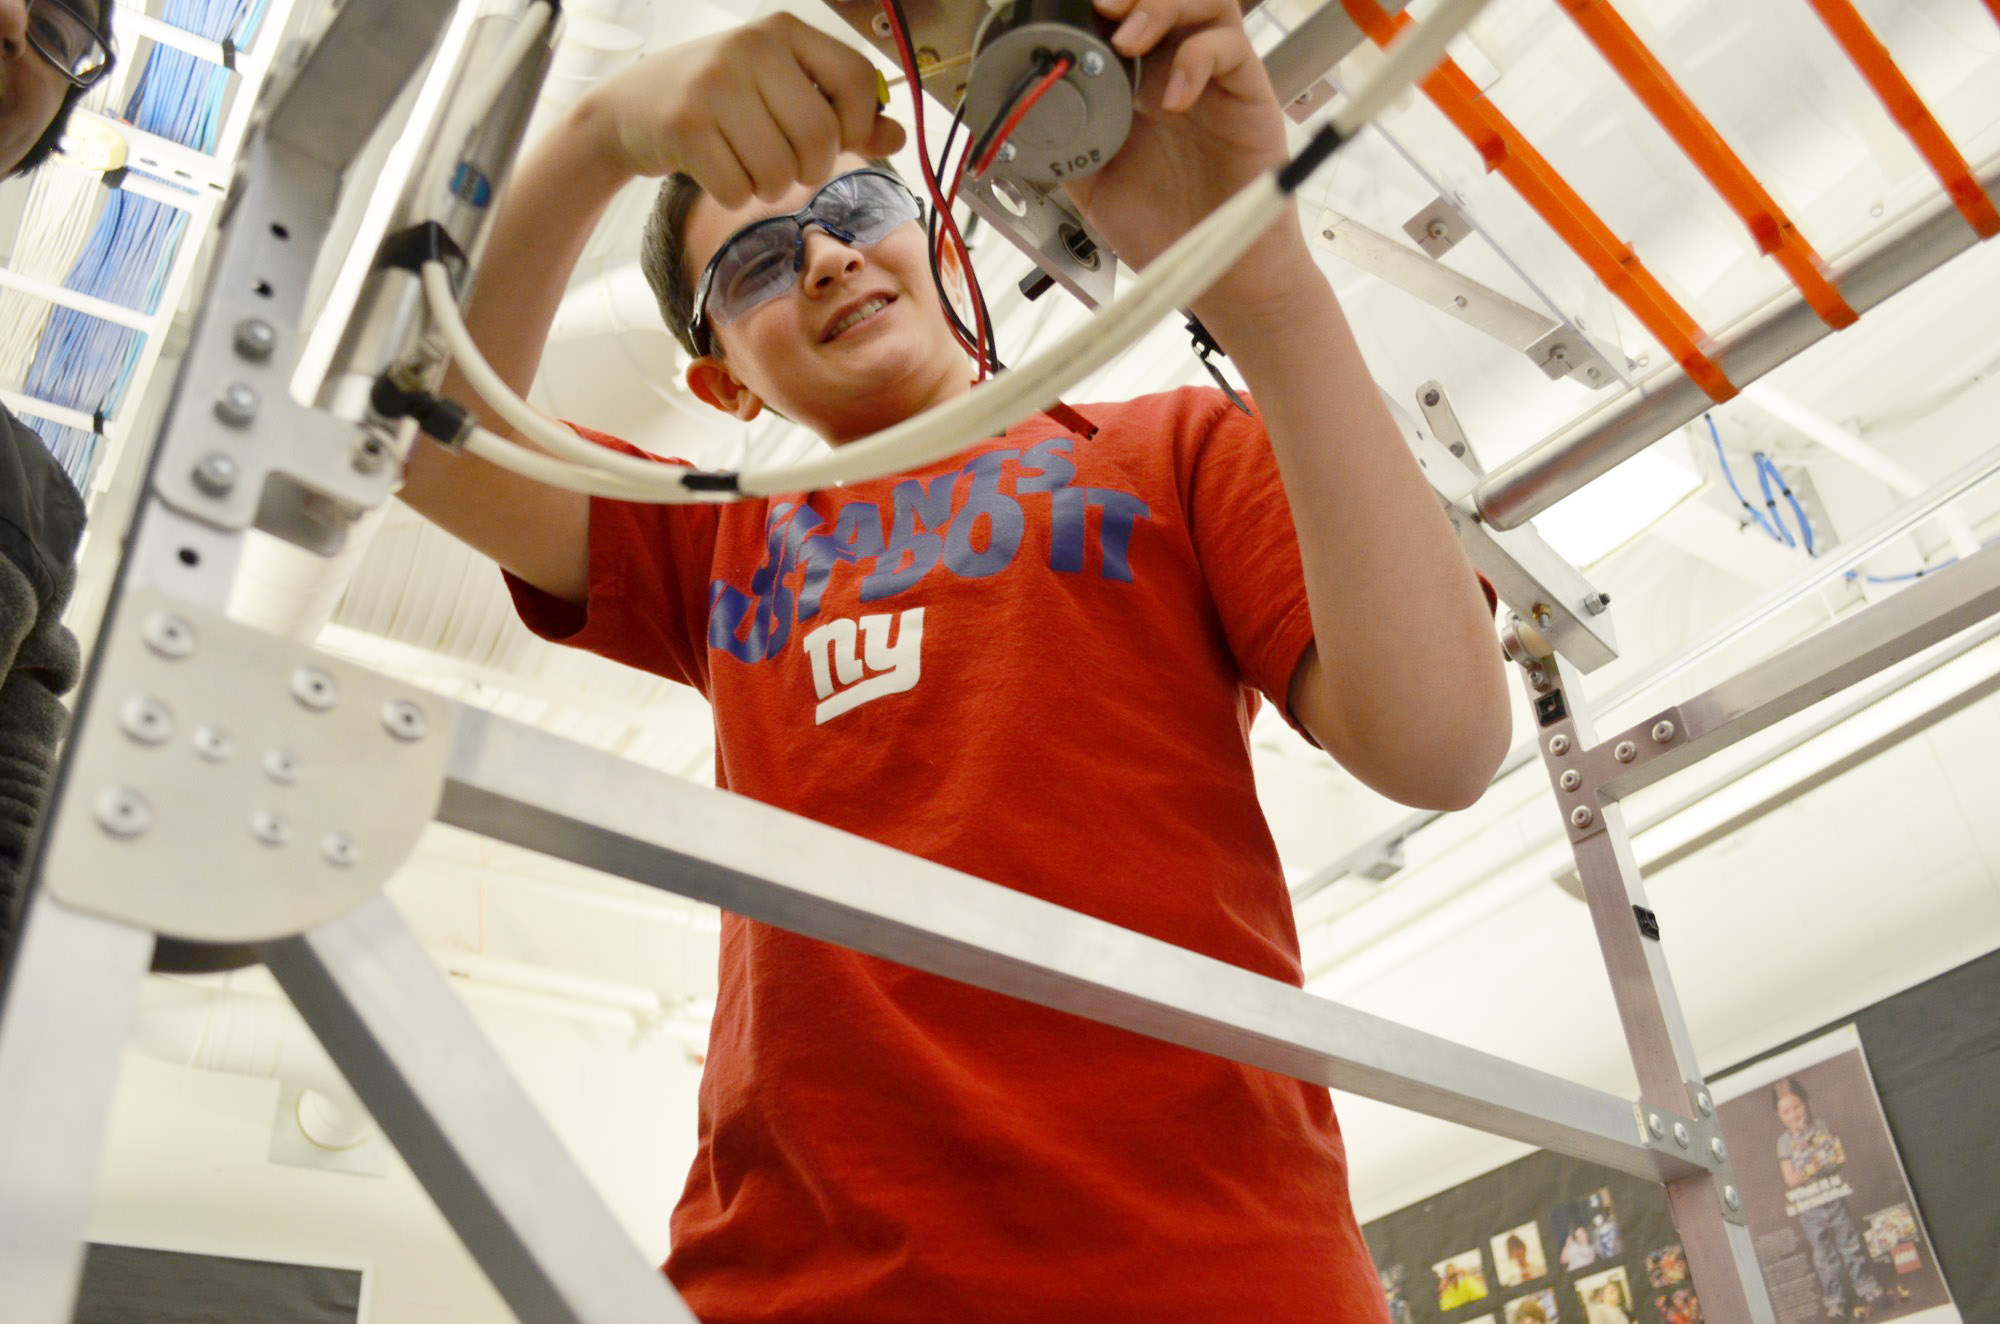
Continuing to prototype the shooter, we were met with increasing levels of success. In the second test, we used expansion springs, allowing the motors to stretch the springs rather than compress them. Varying the number of springs in the tube, we were able to successfully launch the ball nearly to the ceiling, as well as into the goal from various distances. To test more combinations, we experimented with springs of different lengths and force constants. After reviewing our data and videos, we decided that the optimal design was with four six-inch springs that were used on Andy, our 2010 robot. Using these springs, we were able to shoot from a distance of 18 feet into the top goal. Later, we attached a potentiometer to the gearbox on our shooter to calculate the pull-back distance of the springs. This will be used to identify the exact expansion of the springs so we can optimize our shooting.
We finalized the design for our drivetrain and sent the CAD drawing to one of our sponsors, Gaum Inc., to machine some elements of our design. They will be machining the rails for our drivetrain in duplicate so that we can construct a practice robot alongside our competition robot.
The software team worked on coding various PID controllers. We used a PID controller with a potentiometer to control the angle of an arm and another to control the pullback on a spring. We reprogrammed last year’s robot, Athena, to use a PID with a feedforward term to control the shooter.


